Sunday, December 20, 2015

Electrical

After the plumbing was finally done, we could move onto electrical. Nothing too complicated, other than our old house throwing us a few more curveballs with funky circuiting. Some minor adjustments and relocations were needed based on our new plumbing fixture locations. 

New exhaust fan with delay "off" switch:


Our old bathroom didn't have a fan, which led to a lot of built up humidity in the space.  Now it can finally breathe.

New vanity light and outlets:


We also had the idea of installing an outlet inside the medicine cabinet for our toothbrush chargers.  Of course this complicated things and we had to cut a hole in the mirror to make it happen.

New lights!  Stopped for a minute to celebrate using the first pieces of our new bathroom:


Rebuilding: Structural Repairs & New Plumbing

This was easily the most stressful part of the entire project, and the part that took the longest. Relocating all the plumbing in a house built in the 1930s is no small task. Thank God for my Dad! We would not have been able to do this on our own, and would perhaps still be without a working toilet.

To recap, every floor joist in the space was cut, eaten by termites, or otherwise compromised. So like everything else, the solution was more time, money, and work.  Several days later, and we had a brand new floor structure and plywood subfloor (which was laid down and pulled up a few times as we finalized all the new plumbing):


Tying the new 4" main sewer line into the existing cast iron:


The new PVC drain lines laid out:


More new plumbing next to the abandoned toilet drain in the cast iron pipe:


Below is a shot of what was easily the worst night of this project:  


This was where the main hot / cold water supply lines branched to service the downstairs kitchen and bath.  The  old lines (dark gray ones) kept breaking as we tried to take them apart to install the new CPVC tubing.  If one more old fitting in this picture broke, we would've had to start cutting random holes in our kitchen floor to find and tap into the existing plumbing (the crawlspace area under the kitchen was inaccessible). 

New fixture locations starting to appear:


New shower valve:


Fixed the rat's nest of old piping that would have been visible against the ceiling:


Had to take apart the kitchen one day too.  The bolts that anchored the microwave to the wall were in the way of the recess for the mirror / medicine cabinet, so we had to do some modification.


Nice little view of the kitchen... from the bathroom:


Plumbing probably took around 4 weeks (because two full time jobs and life), during which we hammered, drilled, torched and twisted more than we ever expected.  Per our previous post, we also uncovered the rusting cast iron lines that supplied the upstairs bathroom, likely months from bursting on their own due to improper mating with newer copper:


We also learned the hard way that our bathroom plumbing affects the entire house as there were no shutoff valves installed in the original cast iron lines, many of which we had to leave in place.  One morning after the new pipes were glued together we showered upstairs. The water had a slight odor, which was to be expected due to the amount of fresh piping and CPVC glue. But when I began to blow dry my hair, nothing dried... it was greasy and smelly like the glue.  I had no option other than to take a deep breath and throw it in a pony. Such was our life for a little while.
We also accidentally crossed the hot water and cold water line for the upstairs. Whoops! That was a fun morning!


Both kitchens also suffered from disturbing all the old plumbing, with so much buildup breaking free inside the lines, everything in the rest of the house stopped working. Josh ended up replacing the downstairs kitchen sink lines and both faucets so we could finally have good pressure cold AND hot), and ice the freezer again.

Brand new piping and valves!

Delivery Day!

We got a special delivery from Home Depot with most of our building materials!


We had spent about 3 hours the Saturday prior ordering everything we could possibly get from the Depot in one large shipment since delivery was free.  $4,000 later and we were in business.


Some fun items like our sink and new toilet began to arrive too.  Most of the chrome fixtures, lighting, and other fancy bits were not ordered from HD so they trickled in as we gathered the courage to keep spending.


Demo Day

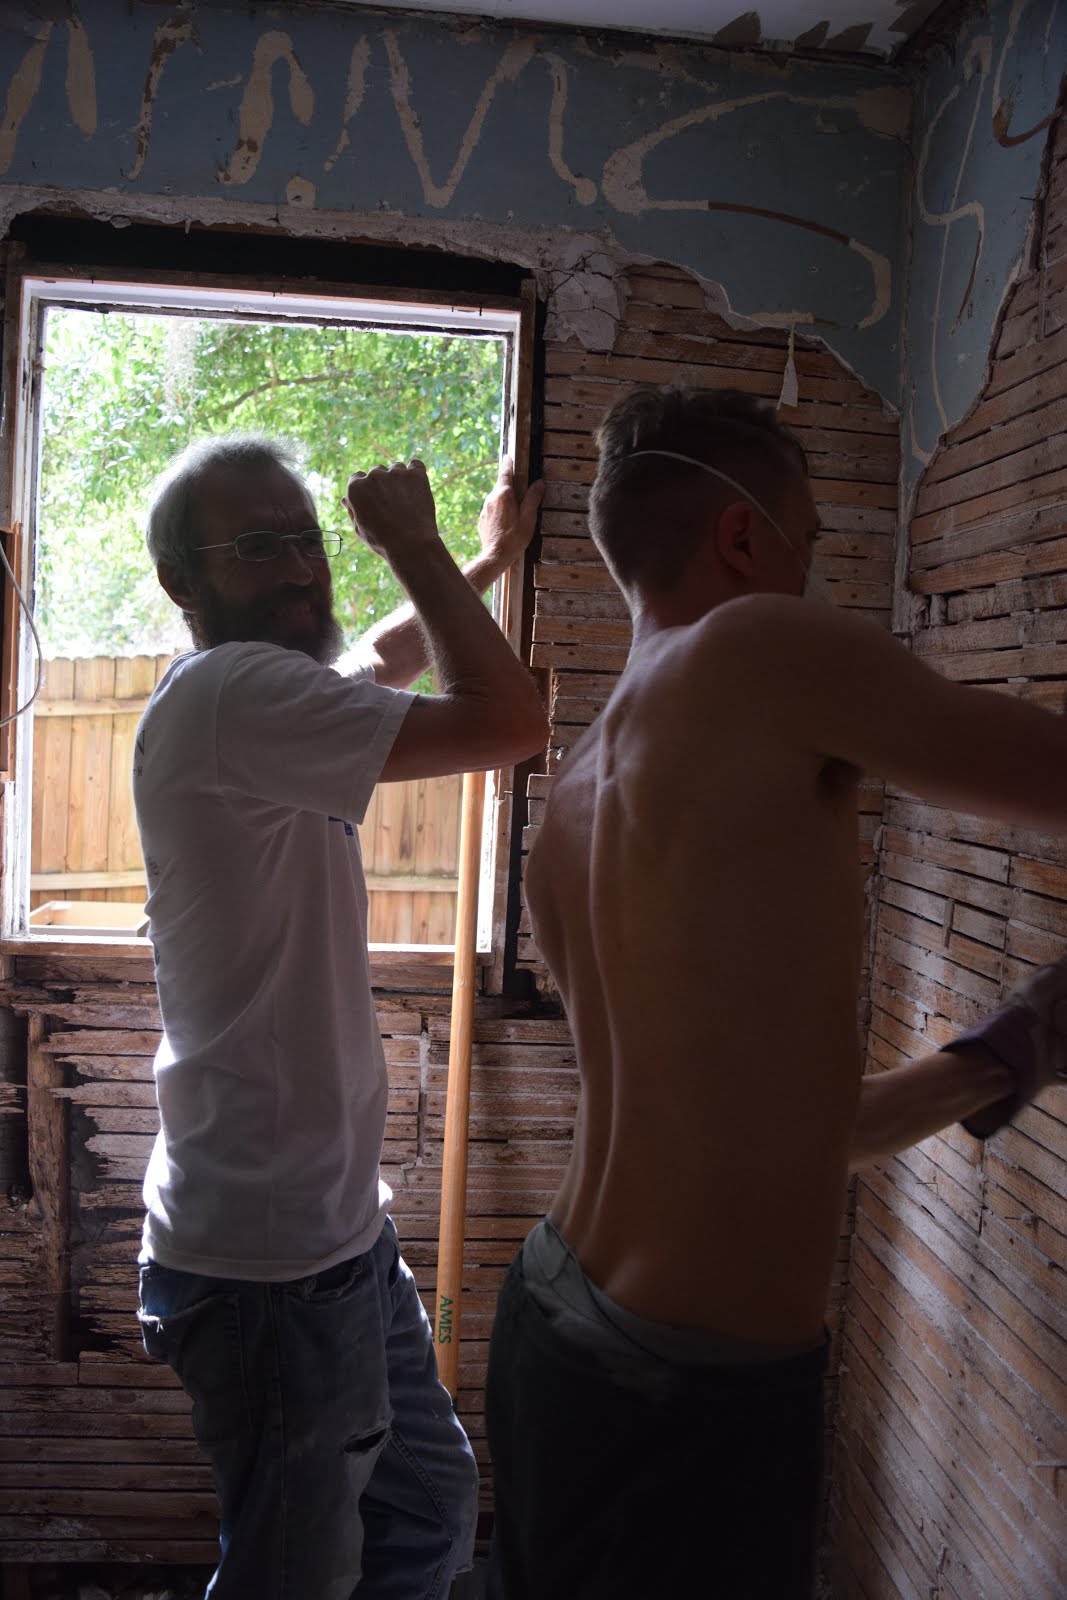
We began demo as soon as our tenants moved out, give or take a day. I had some hesitations, but after about 4 hours in, things were going smoothly. Looking back, it probably was one of the easiest parts of the whole job!
We started by removing the toilet and sink, trying to damage as little plumbing as possible in the process. The fake tile board around the tub came down next so we could remove the tub. What a pain… someone must have used liquid nails to glue it in place because it came off in about 200 little pieces.


After the tile board came down, we could remove the tub. This was not difficult, but we did find some old insulation with half a ton of rat turds and a few skeletons. Gross.


Next we removed the wood paneling that lined the walls, took down the old storage closet, and removed the old subfloor, opening everything to the crawlspace below. Again moving carefully so as not to disturb any fragile existing plumbing.


At this point the extent of deterioration / damage to the existing structure was becoming evident, and concerning.  The above image is a perfect example - multiple chunks of wood tacked onto eachother in a bad attempt at shoring up all the compromised floor joists.  There were no intact joists remaining anywhere under the bathroom.


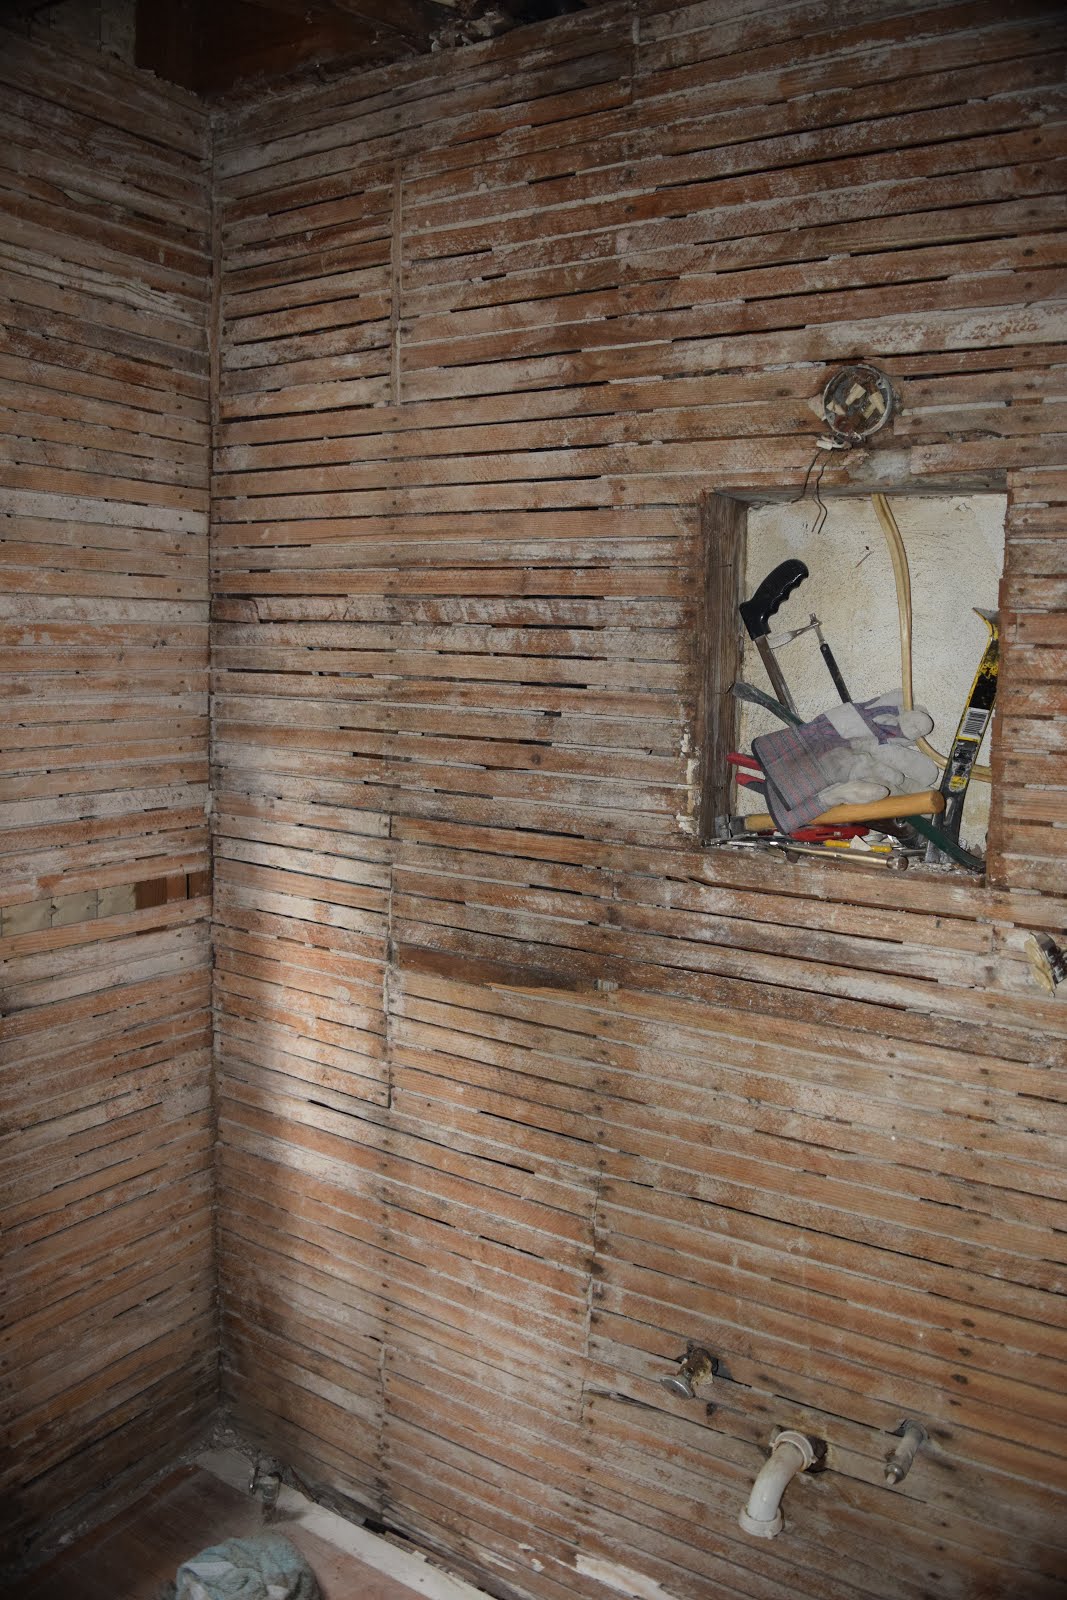
After all the demo was done, we were left with a completely gutted room. No floor. No walls… And several tons of trash and building materials in the back driveway. 


Exposed plumbing for the 2nd floor bathroom above, and the structural hack job someone did to fit it all in:


Obviously we couldn't NOT fix this, or the upstairs' rusting iron supply lines that someone connected directly to copper.

The result of demo day, as seen from our back driveway:


Over the next several weeks, one garbage can at a time, we got rid of it. Well most of it. To be honest, we still have some of the old wood paneling out back.  

Thursday, November 19, 2015

This post should have happened around the middle of March, right around the time we were getting ready for our biggest home project yet - renovating our downstairs bath. We came up with what we thought was a reasonable timeline after consulting with my Dad. The bathroom was going to take several (SEVERAL!) weeks to complete. We needed to stick to a strict timeline that fit between our old and new tenants, mainly because we needed to use the bathroom upstairs while ours was torn apart. This is definitely the downside of having only one bath in each unit.

Prior to ripping out downstairs apart, we decided to take a trip, deciding on Savannah, GA. It was needed since we hadn’t taken a trip since the Keys last year and our lives in the near future would be consumed by this reno. 


What can be said about Savannah? So much to do, so much to see, and all just a few hours away! The entire city is walkable, with a drink in-hand no less. Being restoration / history / old home nuts, Savannah was right up our alley. You'll never regret going if given the opportunity.

A few shots from our travels:


After GA, we hit up the ST. Pete Grand Prix with some of our close peeps.  Awesome view, awesome people, and awesome noise!  Our ears were ringing until mid-week.


Next up: the long-awaited (dreaded) bathroom remodel, most likely broken down into a series of smaller posts so we can touch on the critical stuff without making a book out of it or going insane.


More to follow...

:-)